
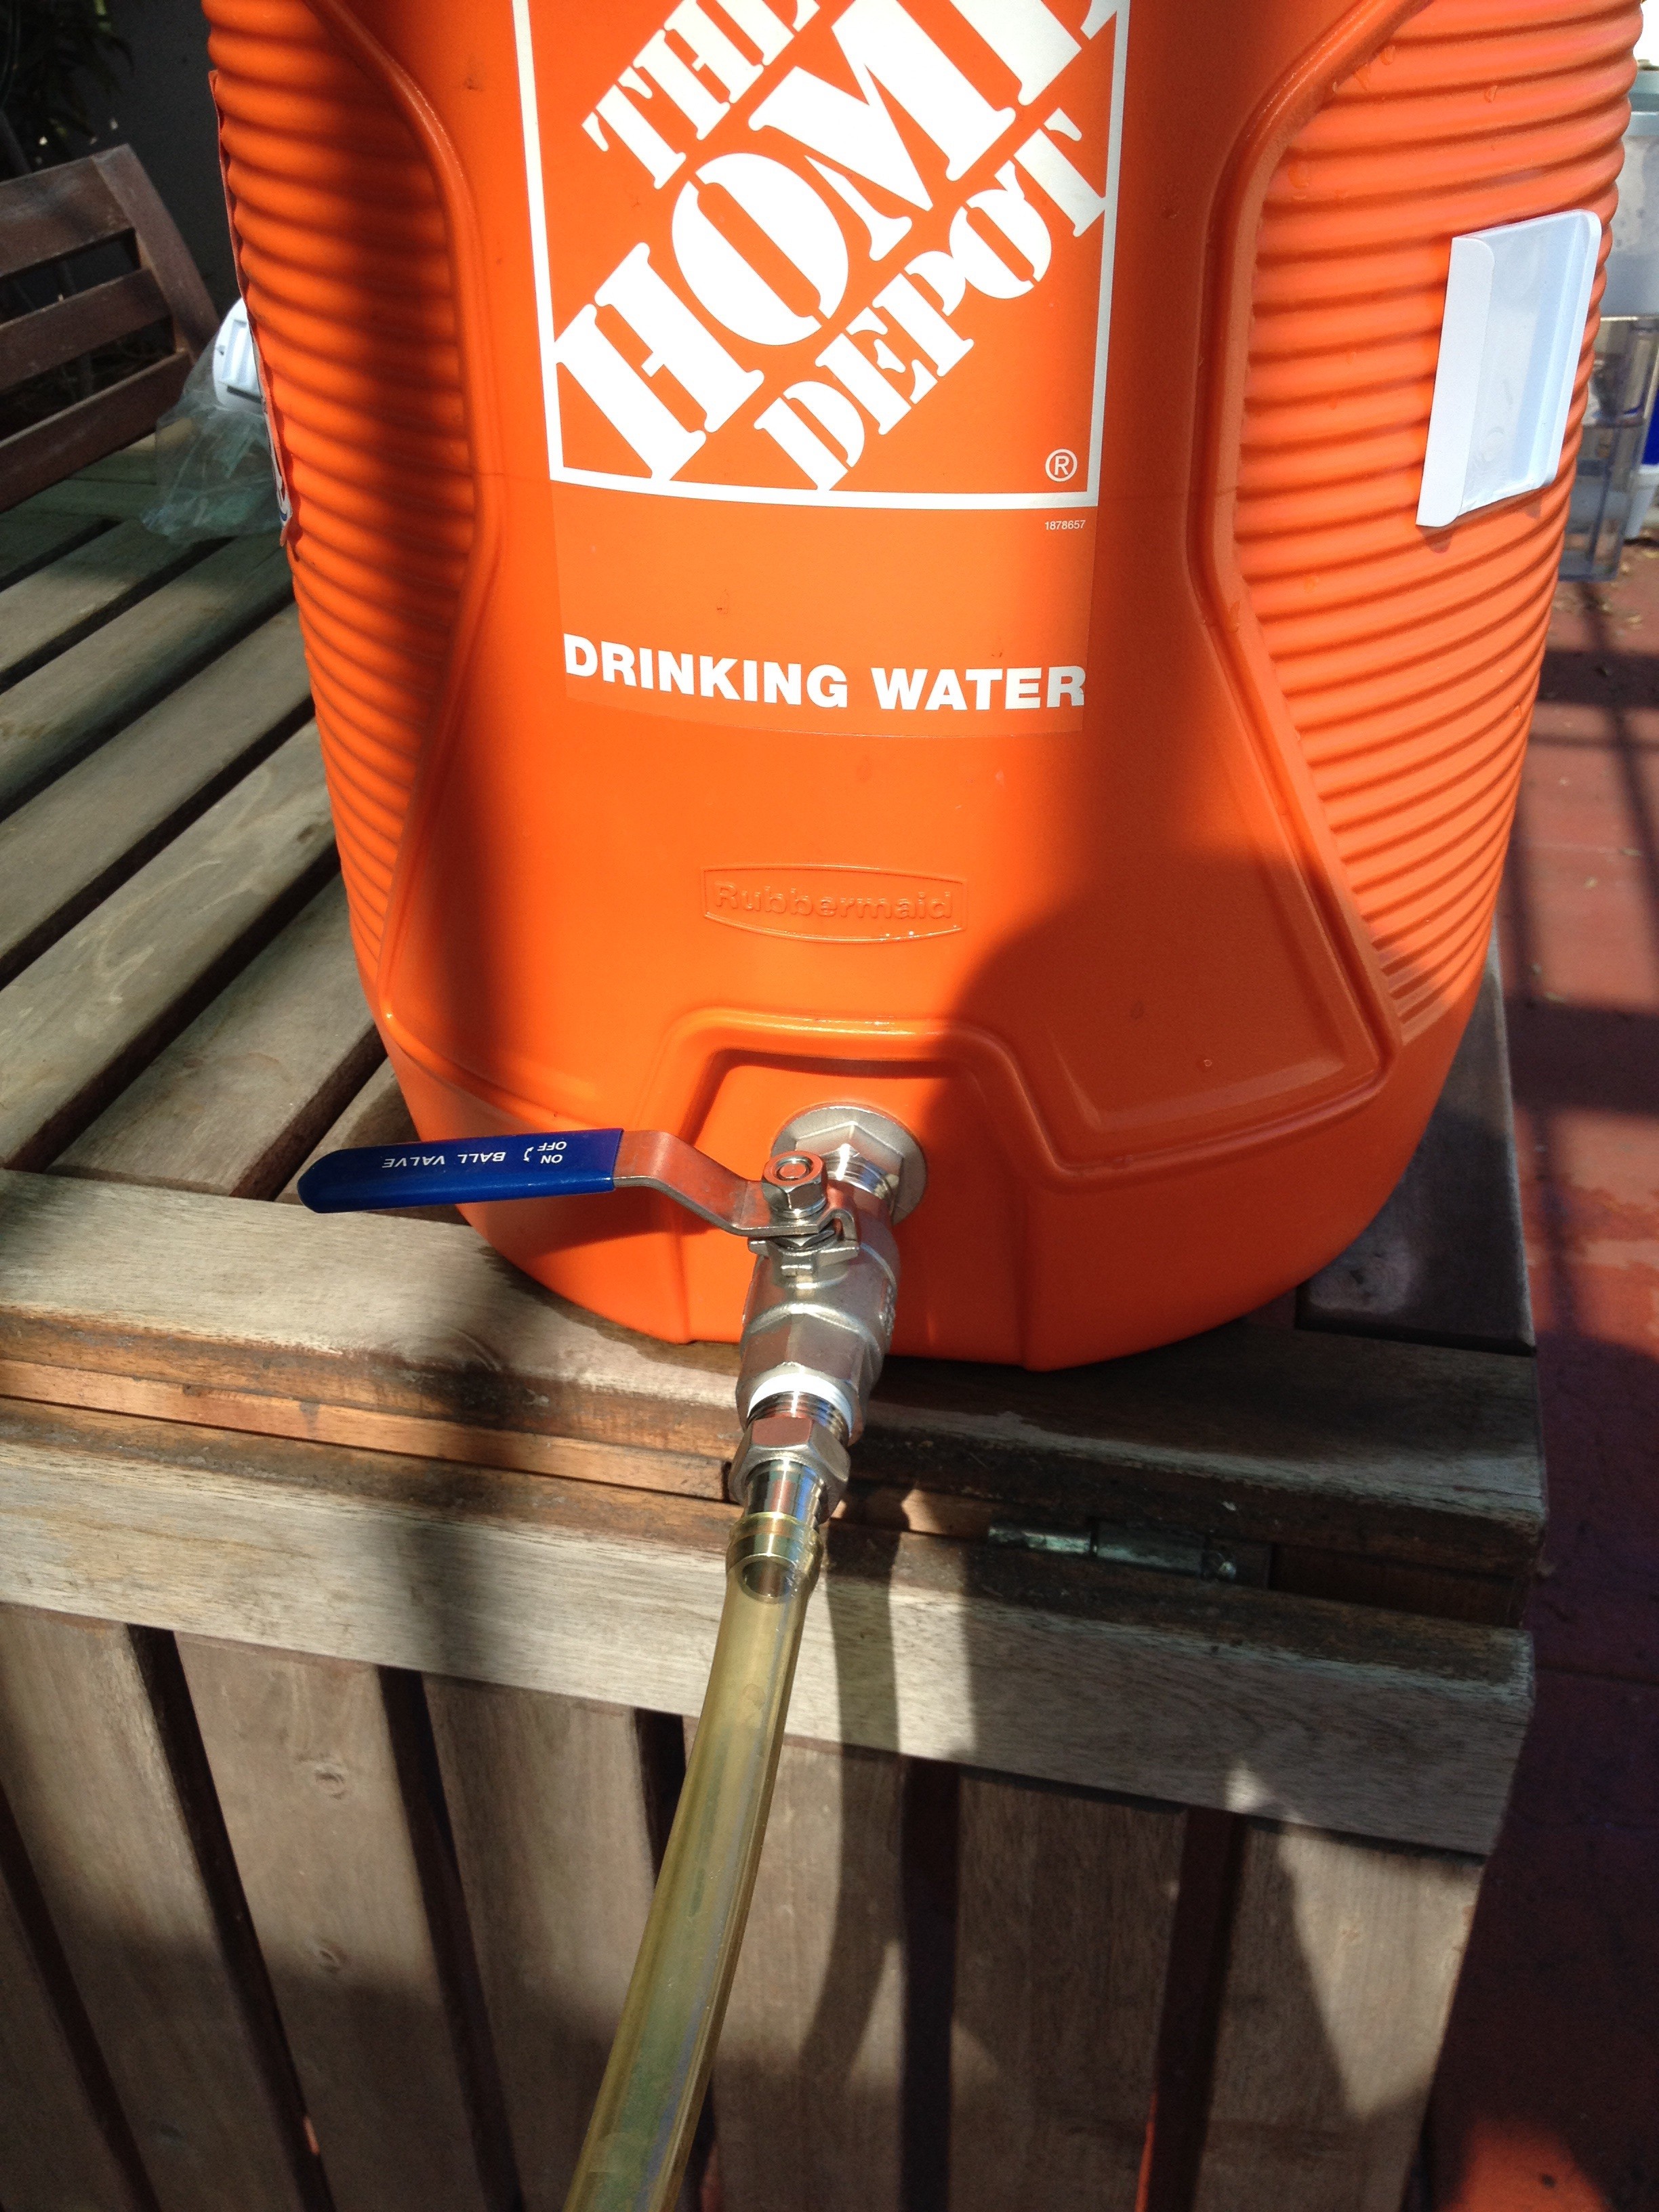
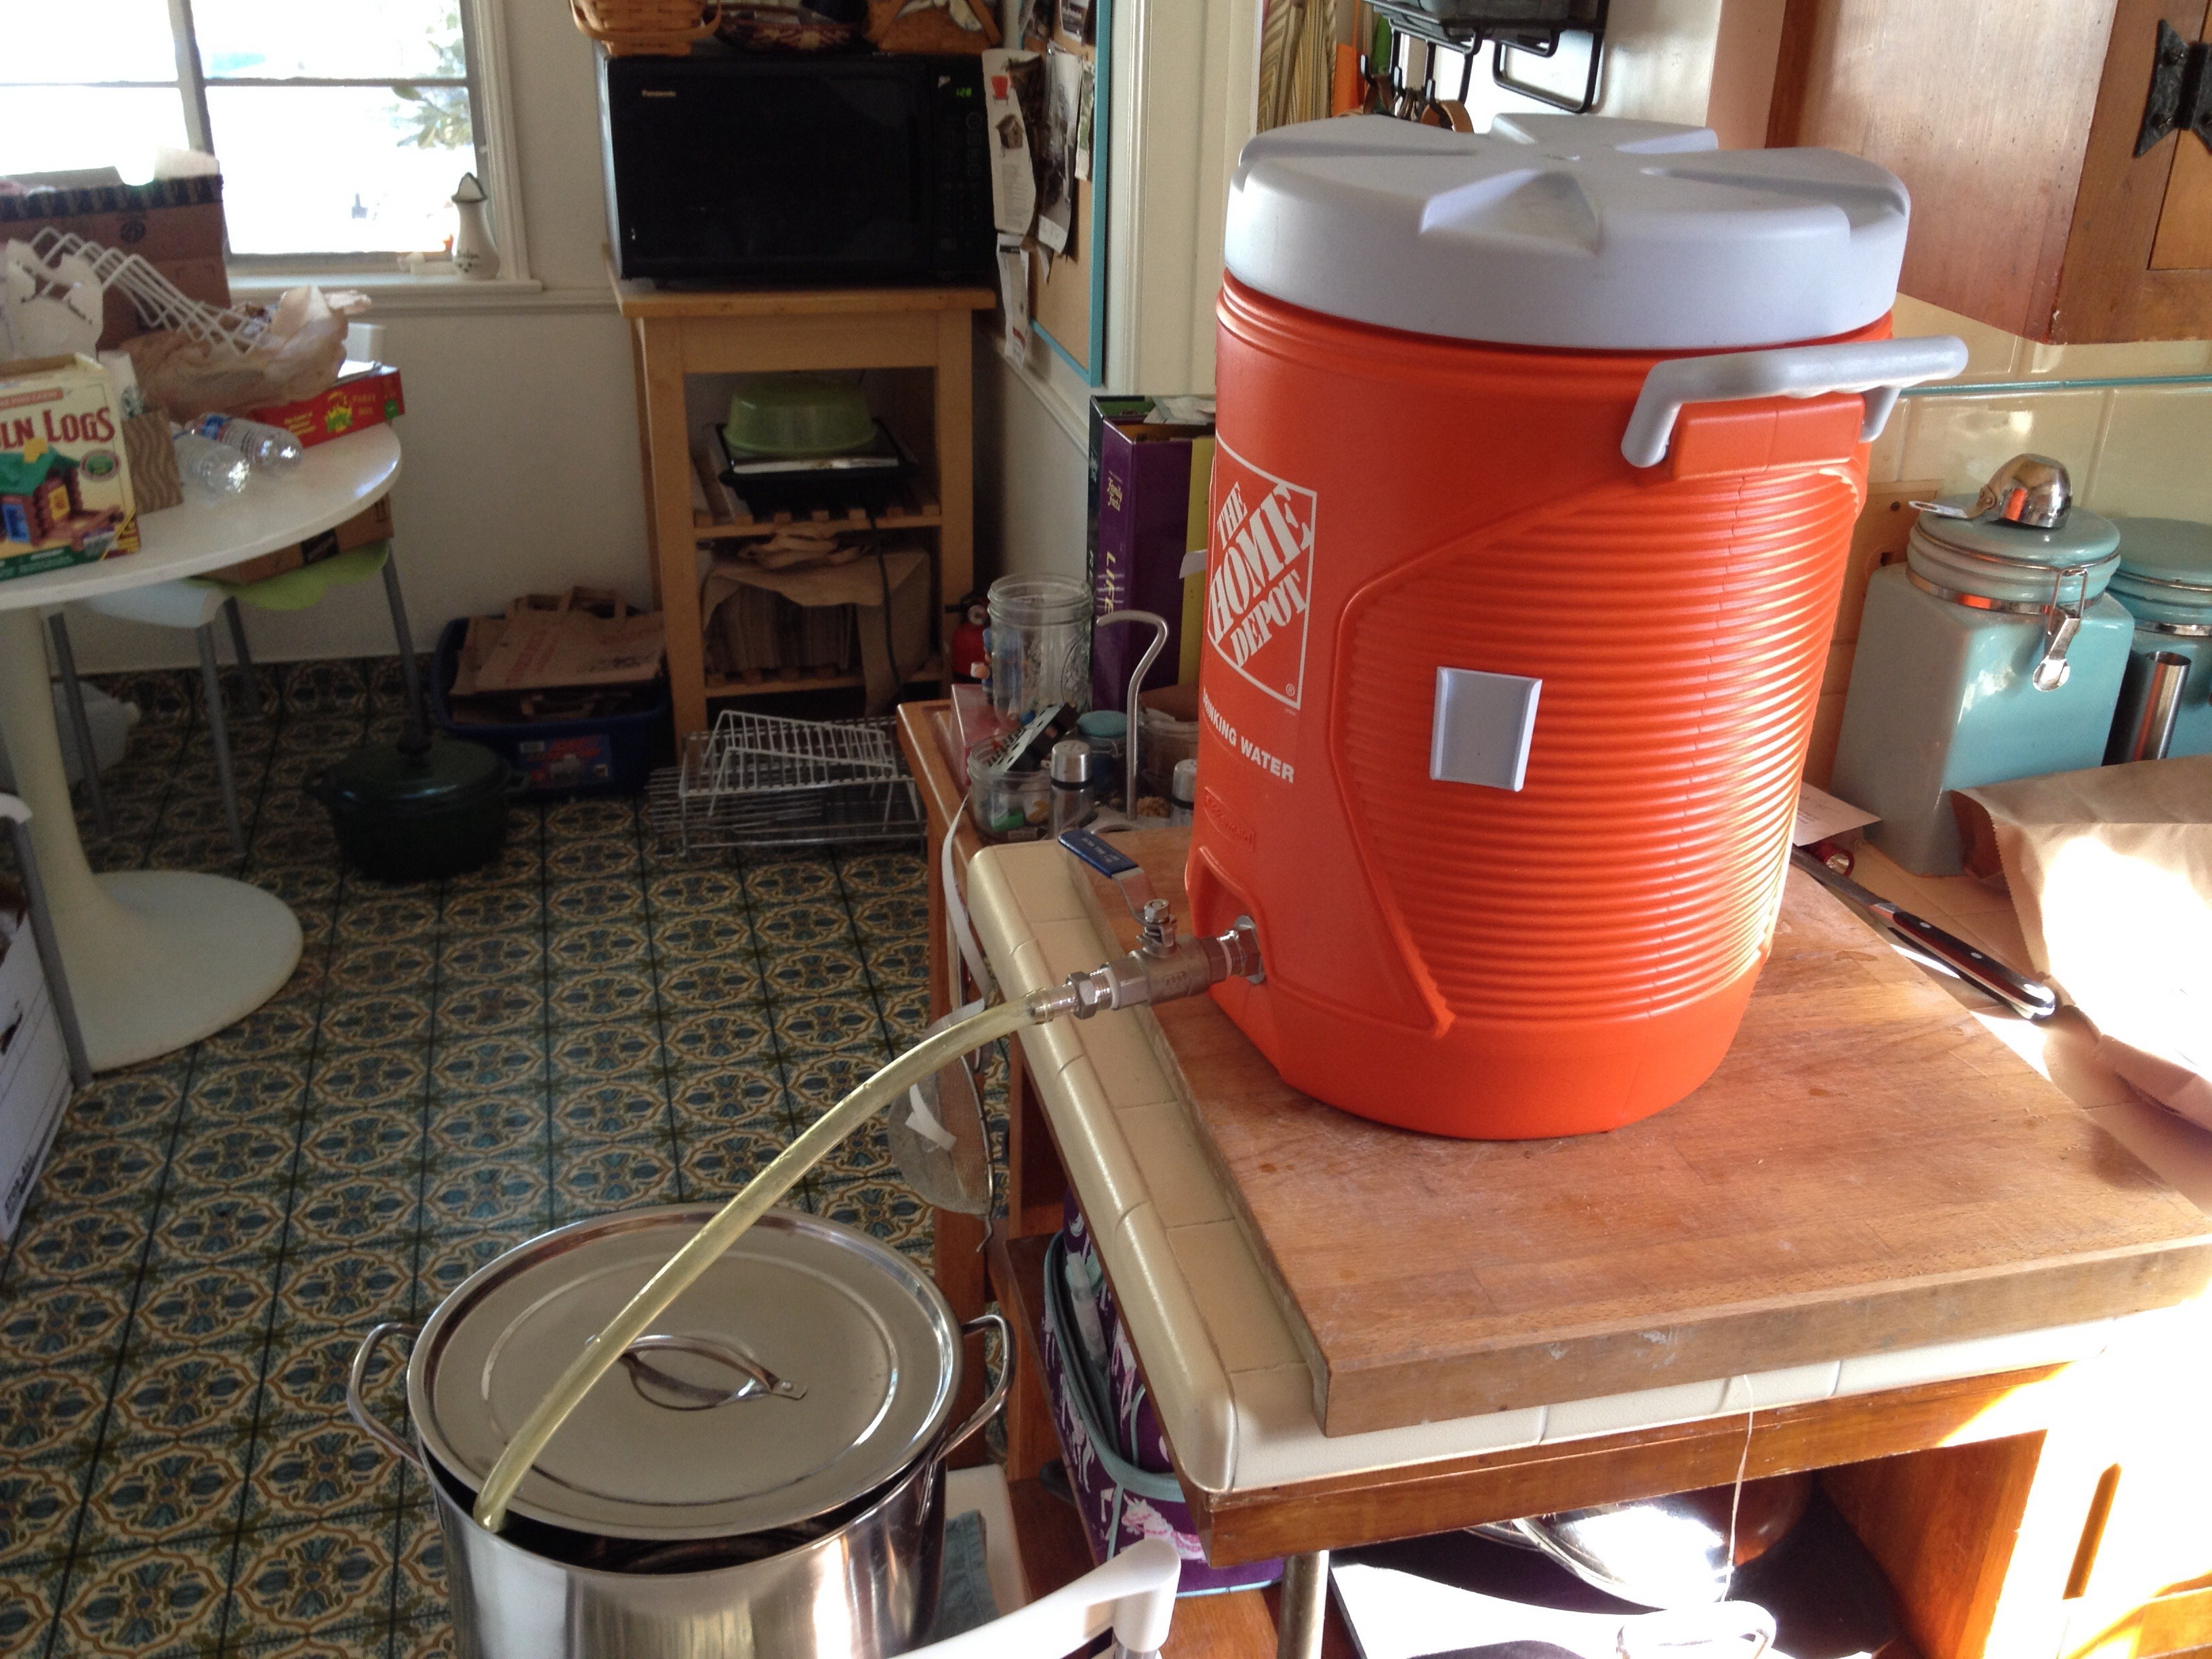
I’ve moved up to 3 gallon brewing instead of 1 gallon. And oh lawdy was it easy. How do you do it? First, go to Home Depot and get a 5-gallon water cooler. It’s $20, a bargain for what you’re going to turn it into. Then go get a valve assembly at your local homebrew store. Now unscrew the plastic spigot and tap from your cooler and screw in the valve assembly and tighten down with a big wrench. I didn’t need to do any drilling–it was a perfect fit and took about ten seconds to screw it in and five minutes to find my big wrench, “The Convincinator”. Is it me or does this look like business?
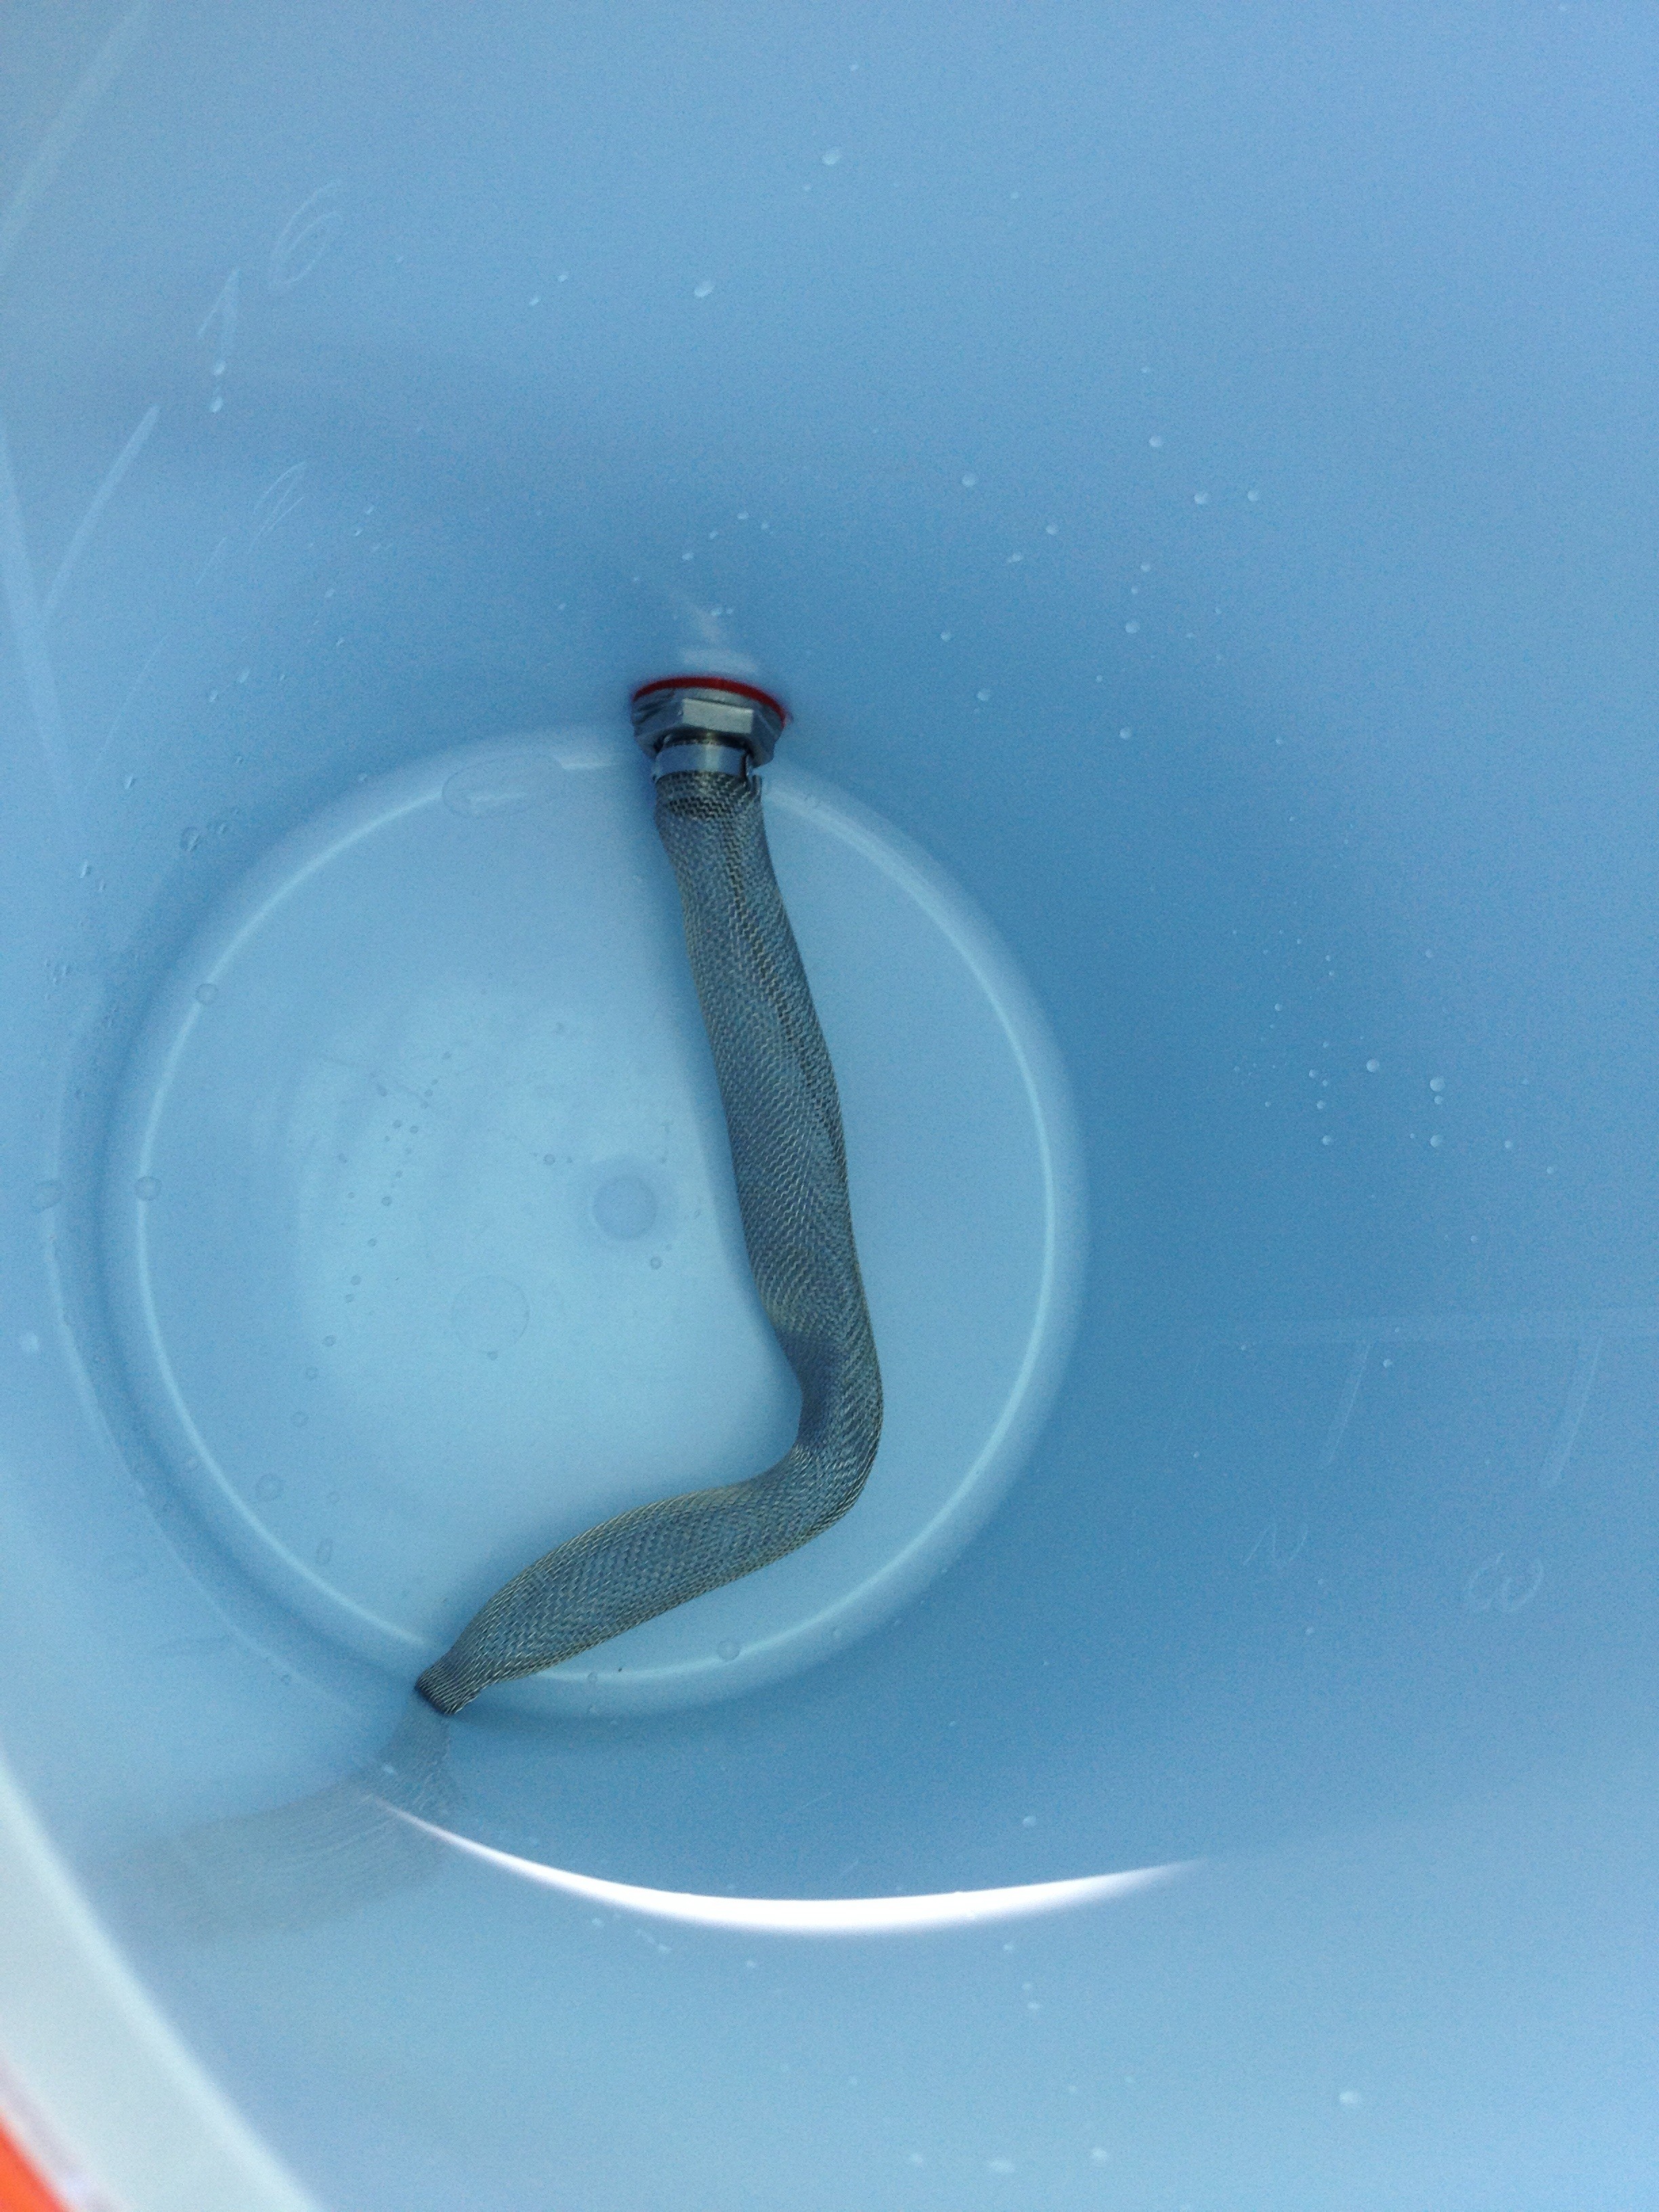
I used the mesh strainer tube instead of a false bottom because it was cheaper and people didn’t seem to have issue with either one. Don’t judge me, it’s a bit long and had to be bent. As a man, this just looks painful.
By buying the valve and cooler and assembling yourself, you’ll save about fifty bucks versus the pre-assembled ones at the homebrew store, which the salesman cheerfully told me, talking his shop out of a $110 sale. Use the extra money for ingredients! Next I bought a 3-gallon plastic fermenting jug. It’s cheaper, lighter, square-sided, and more durable than a glass one. Sold! This one is called the Better Bottle and totally worth the price. Finally, get a cheap 5-gallon stainless pot, the kind you usually cram live lobster into with a stick, feeling like a monster and wondering if there’s enough muscle in those claws to sever a finger. Alright, dudes and dudettes, LET’S BREW!
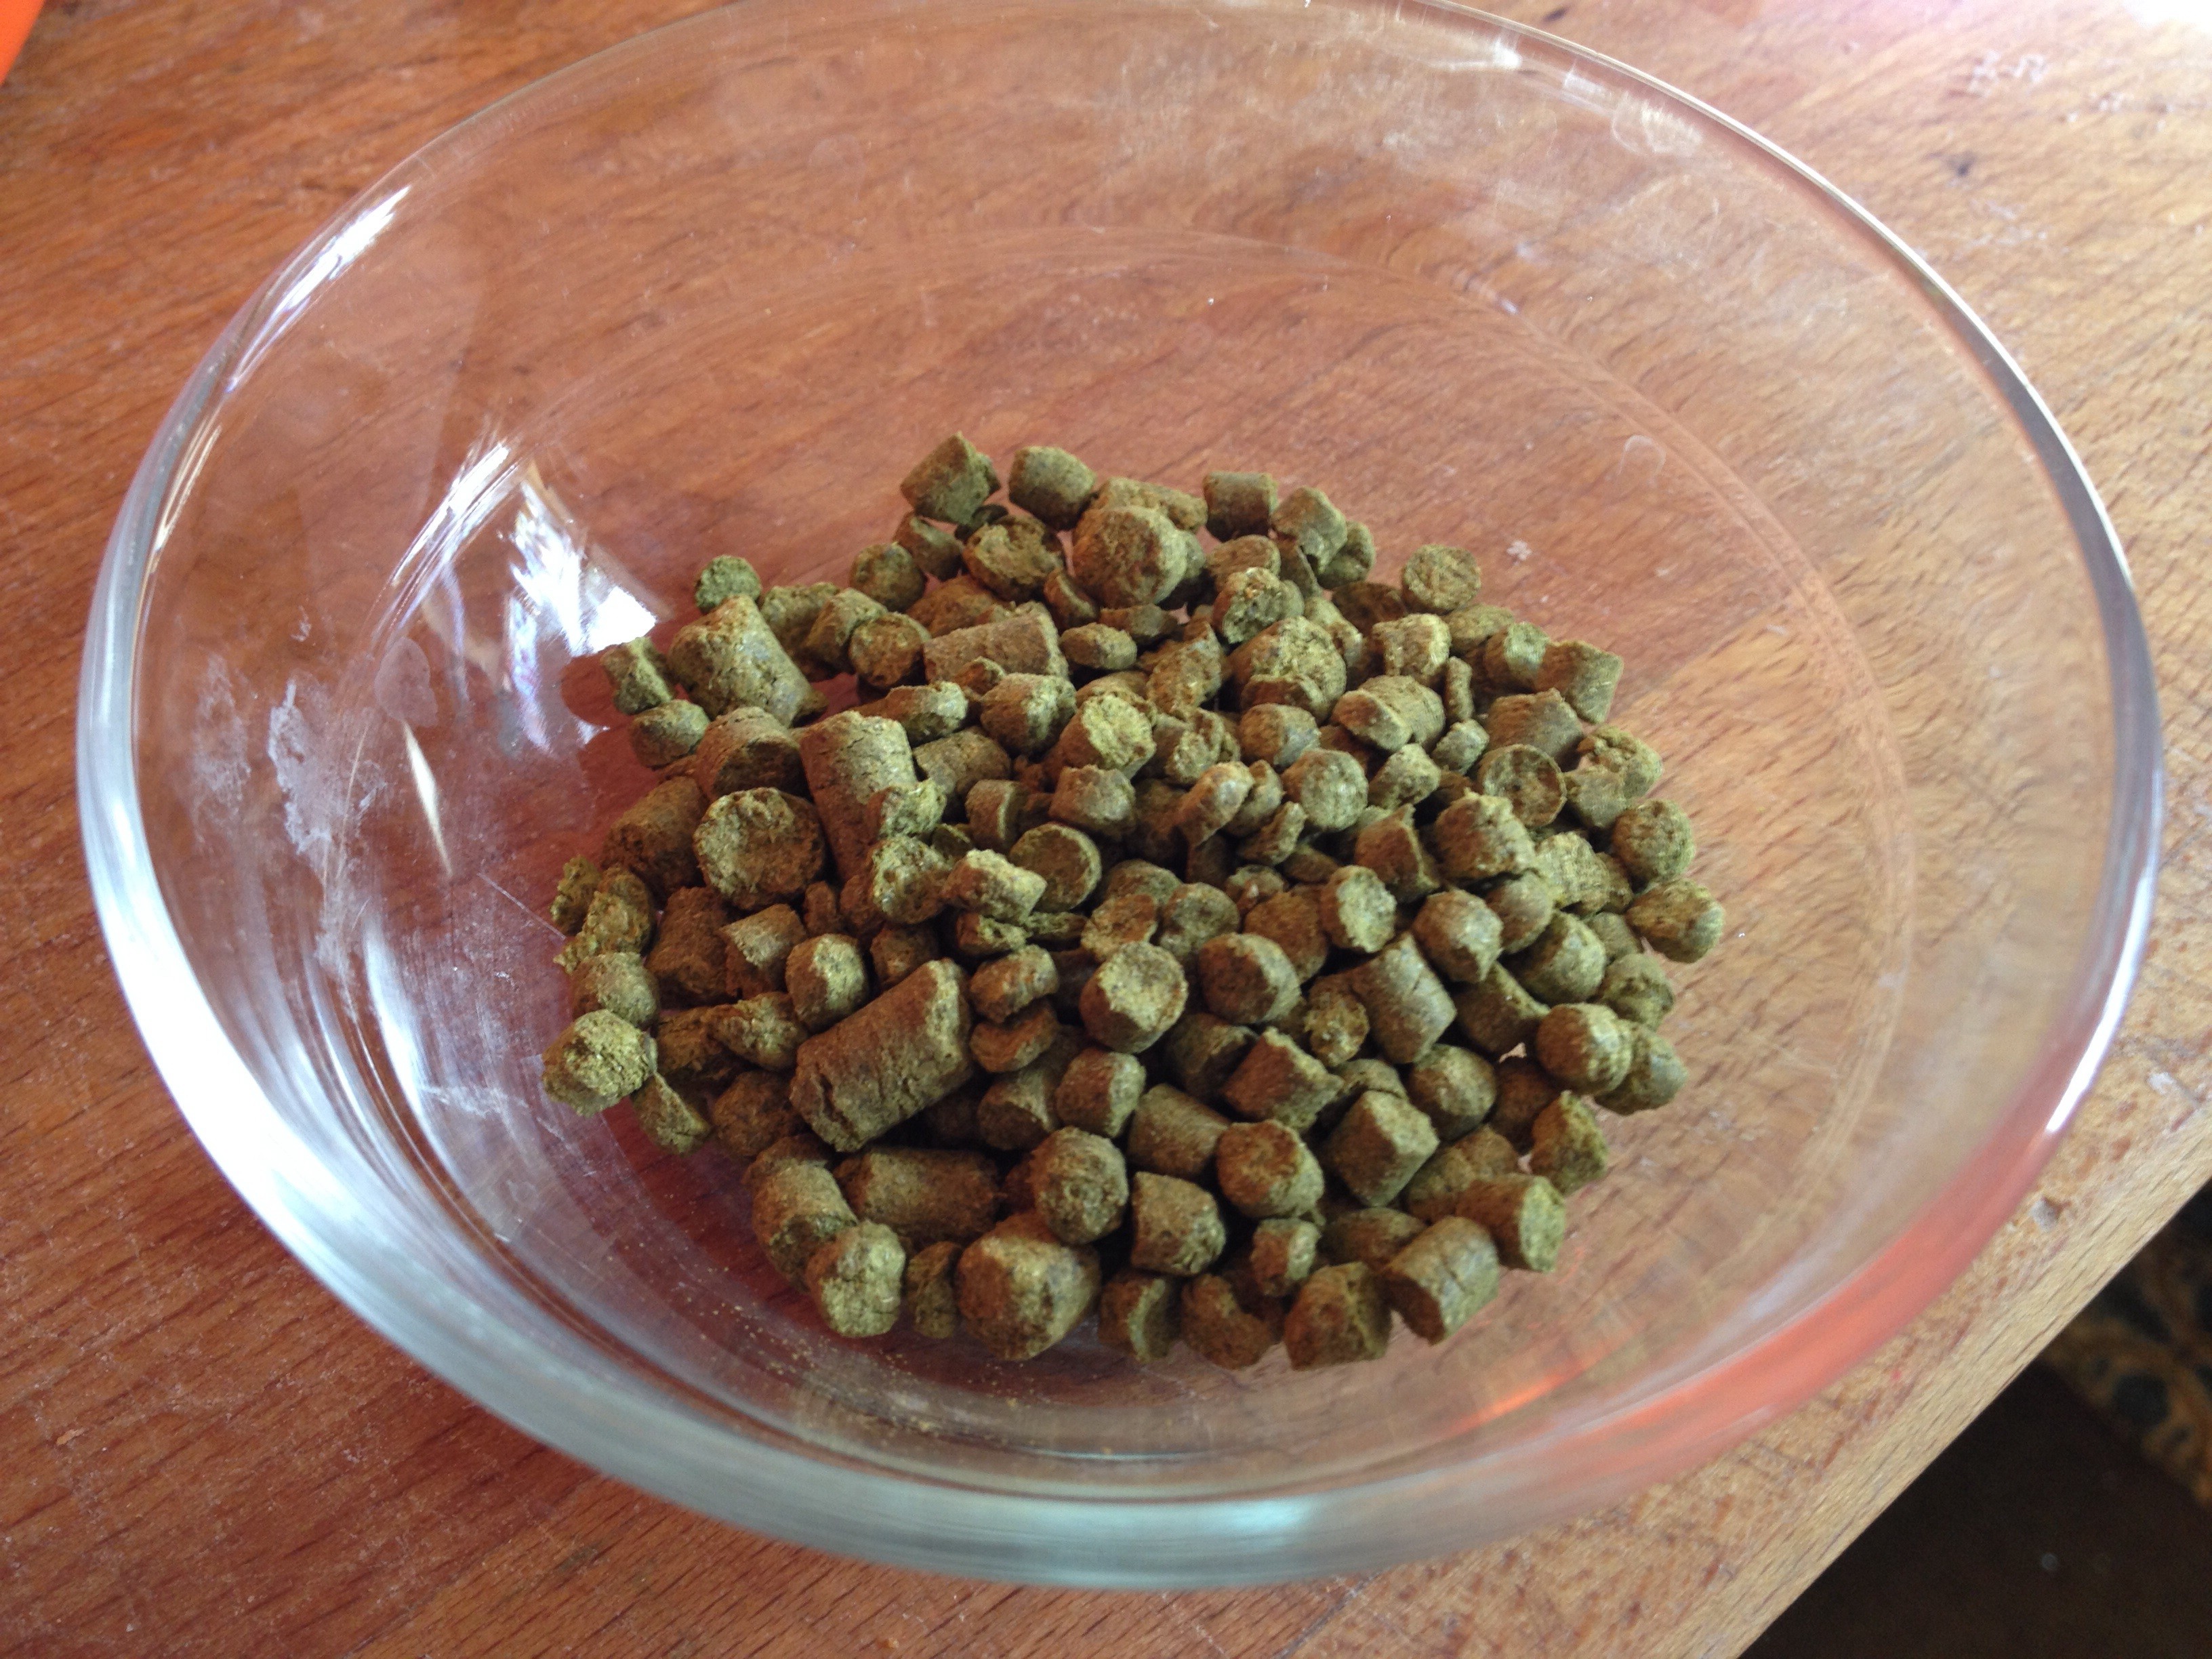
My recipe for this first batch was a modified version of my Marlborough IPA. This time I used the lush, tropical, fruity Nelson Sauvin hops paired with tangy, citrusy and all-around intoxicating Amarillo hops. I really wish smell-o-vision were real so you could all enjoy this.
The cooler is filled up with grain, in goes the hot water, and it sits there for an hour to steep, the magical sugars and flavors being drawn from the grain into the water. The cooler was AMAZING, not losing a single degree over the whole hour. If you’re on a gluten-free diet, don’t even look at the next picture.
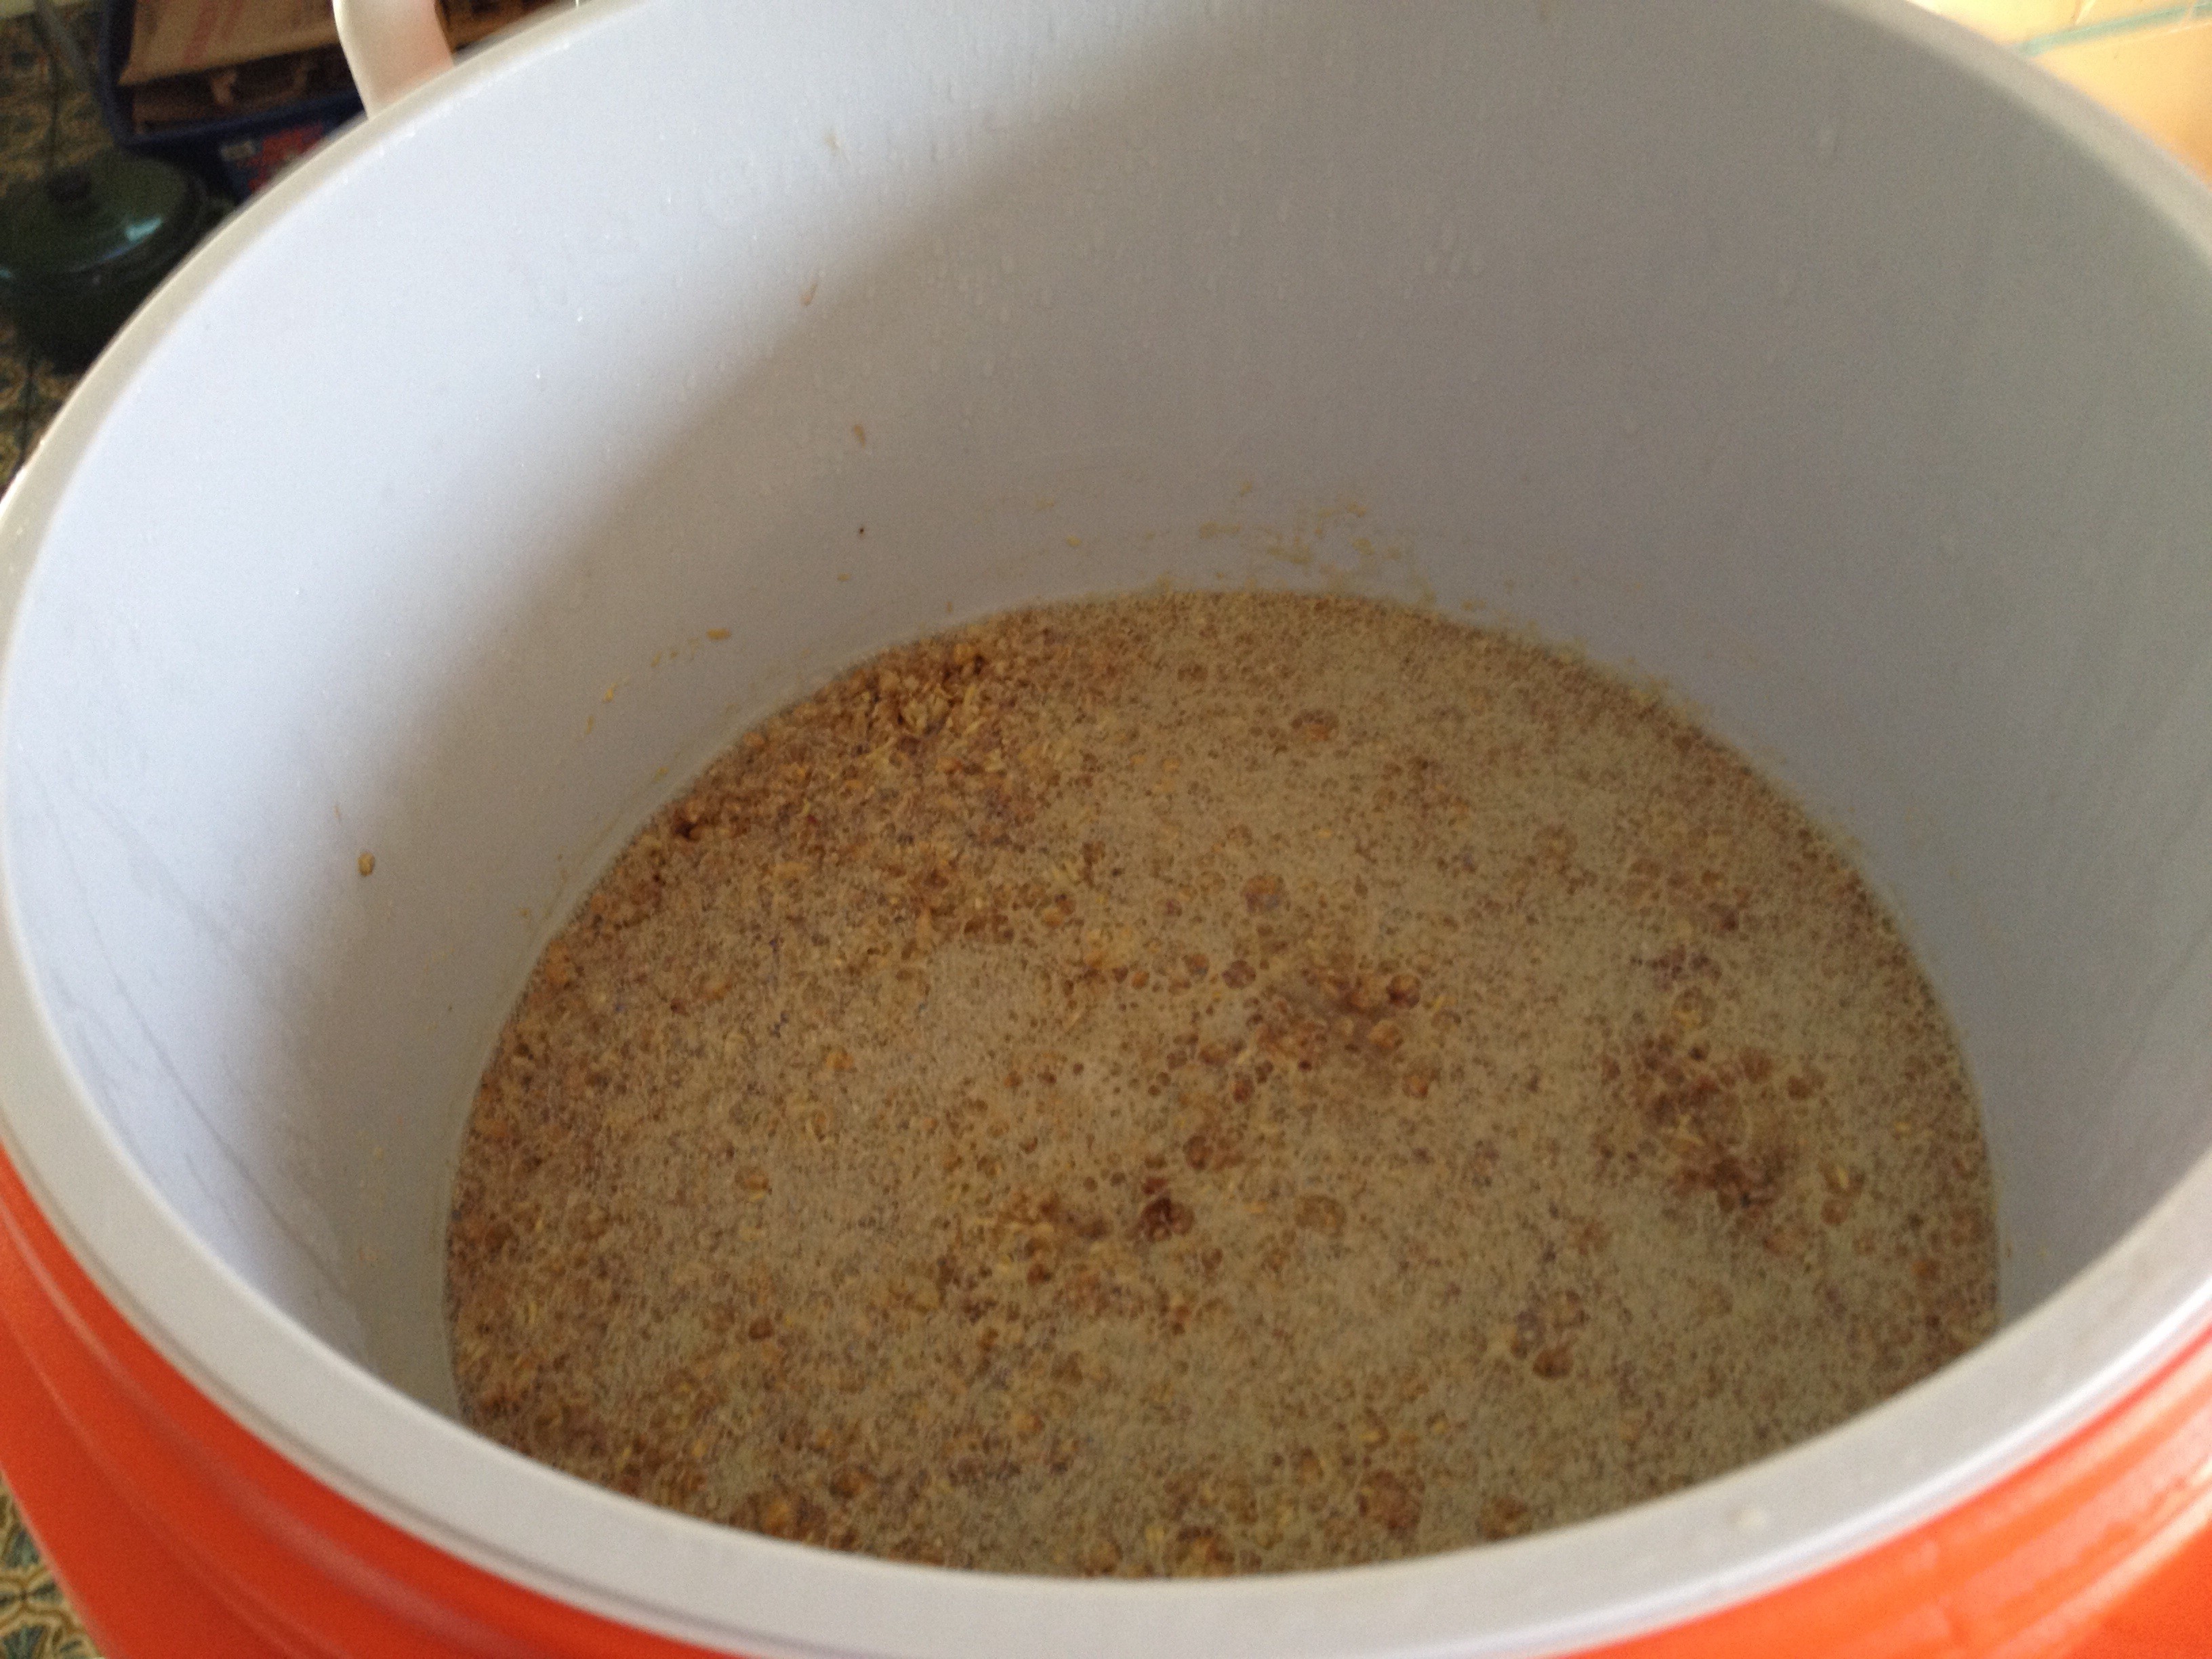
Draining and sparging was a cinch, and soon I had a kettle full of wonderful wort ready to boil.
Boy, it’s nice just turning a tap and not having to lift that massive thing! Plus I can pretend I am peeing into the brew kettle.

Now here’s the cool part: efficiency. Wait, wake up! With my 1-gallon batches I had the grain in a mesh bag, like a giant teabag. Now the grain is free to mingle with the water as it wants. With this recipe I add a bit of palm sugar to dry it out and add another layer of flavor. So I tripled the amount from my 1-gallon batch. But since the loose 3-gallon mash draws more sugars from the grain, my original gravity went up to 1.074. What this means for non-brewers: mucho alcohol, possibly up around 8.4%! Alright, so my pale ale is going to be a big IPA, I’m not complaining. The yeast went on a sugar-crazed frenzy during primary fermentation, bubbling and foaming. Just like my kids after eating Halloween candy. On the left is a 1-gallon batch of my Far North Pale, a crisp ale bittered with juniper berries and balsam-intense Simcoe hops.
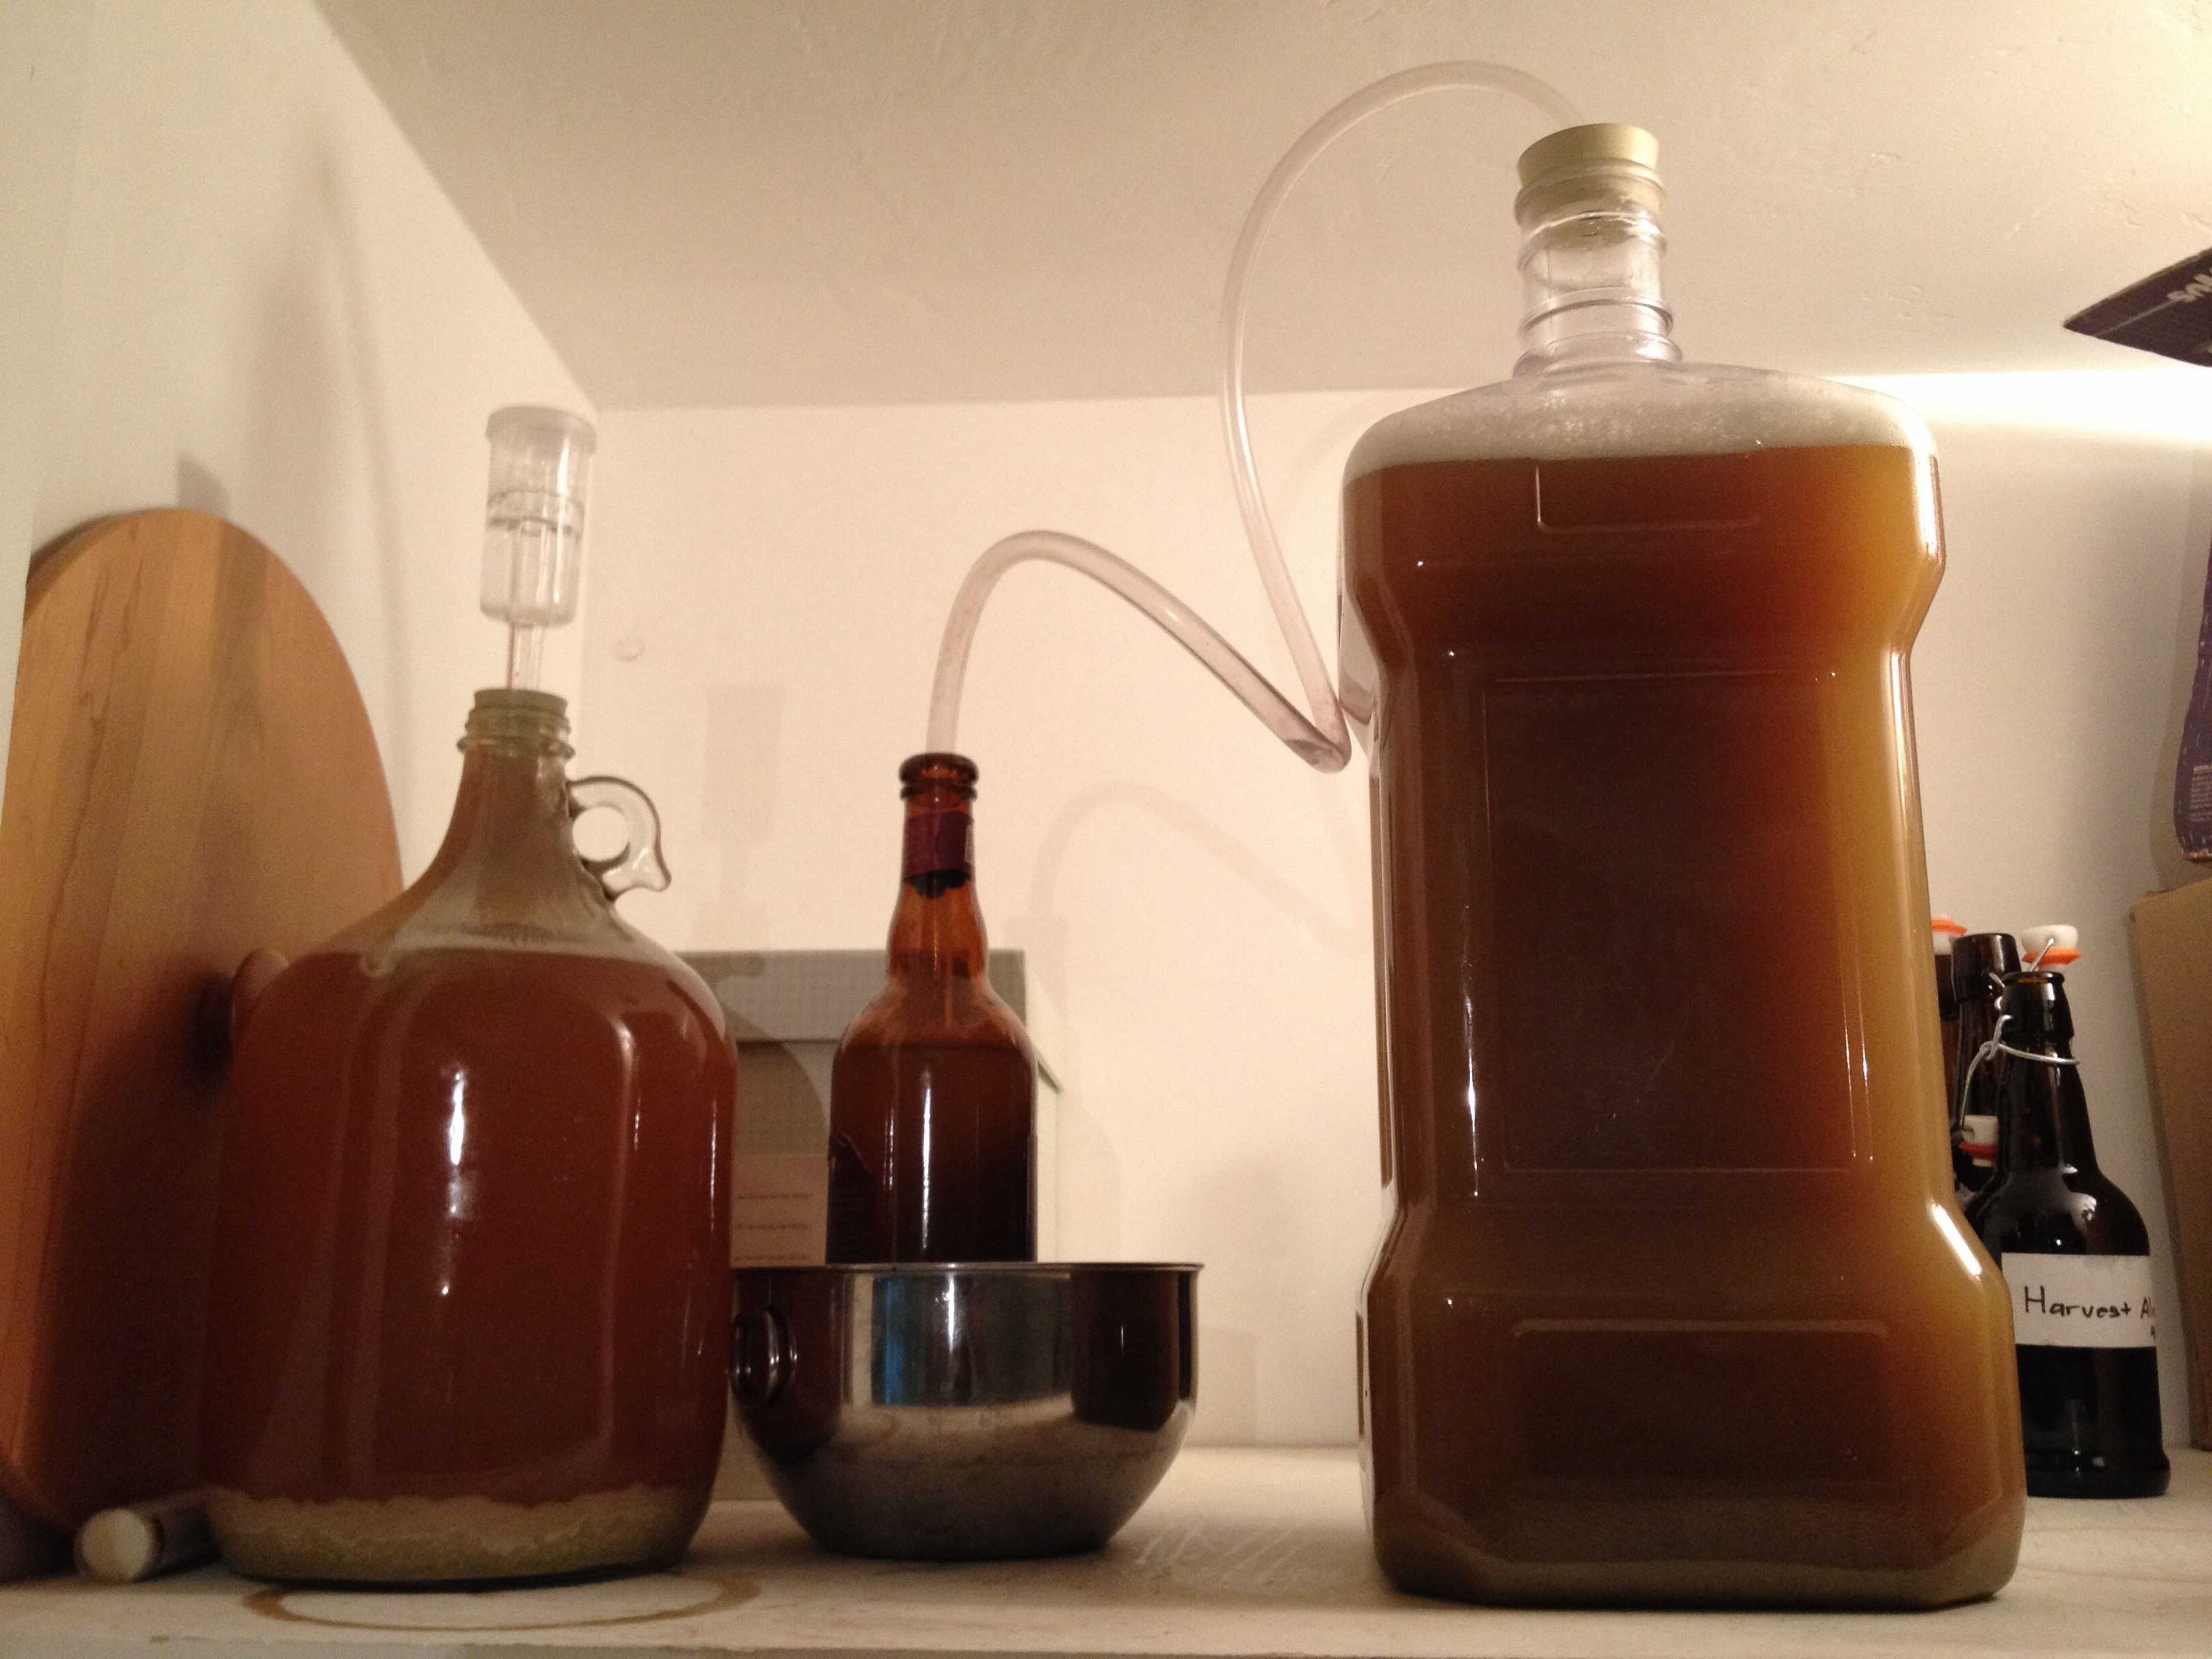
I should get around 21-22 bottles from this 3-gallon batch. That’s enough to drink, share, and enjoy without watching my bottle stash with miserly anxiety. Now my only worry is, “What do I brew next?”
Writer, architect, father, husband.
Designated driver?? Quite a process. Hope you and your brother can “manage ” all that cerveza!!!
Managing beer is a problem I love to have. Even with this size batch, it’s precious enough to mete out over time.
Sounds like your next Pecha Kucha presentation topic…plus a tasting for all.
I’m open for tastings…love me some home brew.
We’ll have to meet up and I’ll share of my homebrews. And I’m definitely up for a PK presentation on brewing. Maybe some props/samples too…